


Sorry for the absence yesterday, I was taking care of a sick boyfriend. I crafted while he napped. I quietly tore sixty squares of paper from an old Anthropologie catalog so I could make this little flower ball I saw here. Apparently I'm into paper folding lately. It's called a kusudama, or flower ball. :) I stumbled across it a while ago and thought it could make a nice ornament so I decided to save it for Christmas time. It's pretty easy, just a little time consuming. Once you get the folding down though it's pretty mindless work so just knock all sixty petals out while you're watching Christmas movies and drinking hot chocolate. :)

The Anthro catalog was perfect because there were so many nice patterns. You could use anything you want, from colorful craft paper, to magazine pages, to wrapping paper.
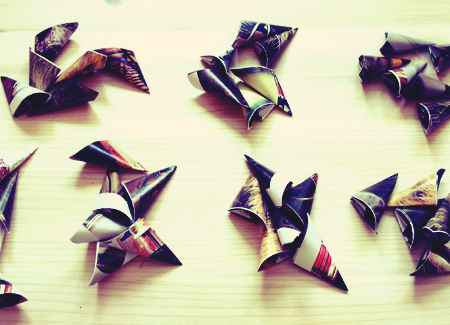
I took the suggestions of the tutorial and hand tore the pieces after measuring and folding, to give it a little bit of a raw edge. Each piece is 3.5 x 3.5 inches. To start, [1]figure out which side you want to show and keep it on the outside. [2]Fold it in half to make a triangle. [3] Fold the bottom two corners up to meet the top corner and form a diamond. [4] Take the two corners you just folded up and fold each in half, towards the outside. [5] This is the slightly tricky part.. unfold until it's one big creased up triangle. Take the two sides that were folded before, open and puff them up, and press down along the folds. [6] Fold down the top points to make the sides level. [7] Fold the two triangles in half along the crease, towards the inside. [8] Bring the two outside corners together, but don't crease them so that the petal stays puffy. Glue these together.
If this made no sense at all there are a lot of tutorials including videos to help. I tried!
You have one petal. Make 59 more. It's not that bad I swear! :)
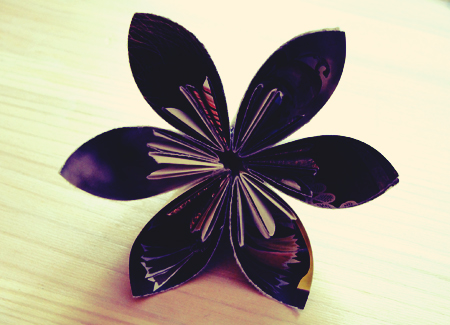
Once your have ten groups with six petals each, you are ready to form your flowers. Glue the petals together one at a time. When you have two groups of three petals, glue each half together to form one flower. I found a hot glue gun works best because of how fast it dries.

They're pretty enough all by themselves!!
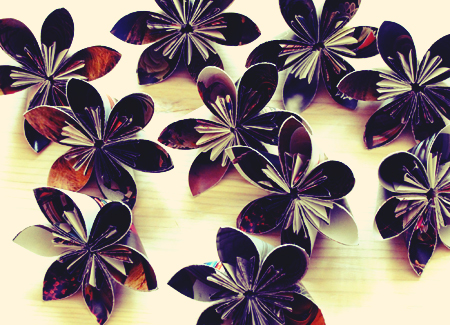
Make all ten flowers before you start forming the ball.
Now you want to glue together six and six, and then attach those two halves. This is where it got a little wonky for me but it didn't turn out half bad. I think I might try it again, being a little more precise about it. Put glue along two petals and attach it to two petals of another flower. For the rest, you want to glue three petals at a time. Check out the link at the top for pictures of this. I was too busy battling hot glue strings at this point to remember to take pictures of the step by step. ;)
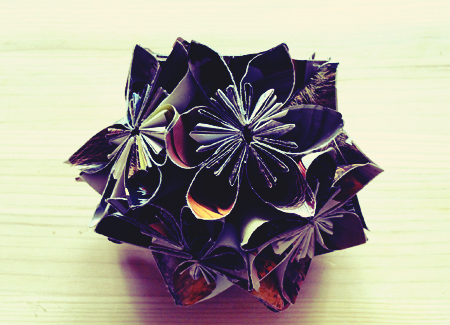
Glue the two halves together. This is where said wonkyness got the best of me and I had to do a little forcing to get the two halves together. Just see how the pieces are fitting together before you glue and it should be fine.
You can either stop here and attach a ribbon and hang it where you please, or do like the tutorial I linked to and add some cute beads to the centers of the flowers.
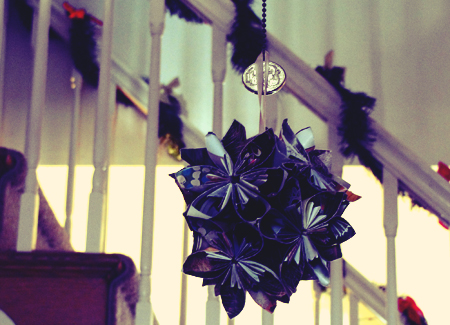
Hang it from a fan pull, a Christmas tree, or any place that's lacking in Christmas decor.
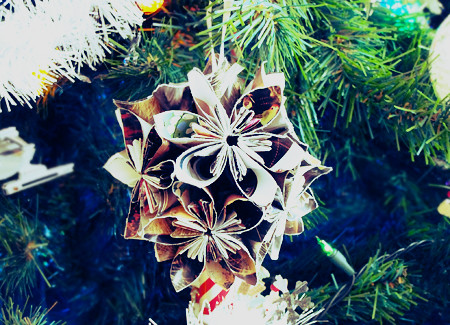
Enjoy your handmade flowers!
No comments:
Post a Comment
Thanks for stopping by! I always love to hear what you have to say so feel free to add your thoughts!