


Just wanted to put together a little how-to for anyone wondering how I made these. It's super simple and I'm sure there's a million ways to do it but this is how I did!
First, grab some balloons and blow them up to the size that you want your bowls. Then tear up some newspaper (in hindsight I would make the pieces smaller - they'll lay flatter and minimize bumps and wrinkles!) and start mod podging it to your balloon. I just dipped my brush straight into the bottle, painted some on the balloon, and stuck down the first piece of paper. Then I brushed over that and kept sticking pieces of paper on until the balloon was almost half covered. Make sure all of the paper is covered in mod podge.

If you make the bowl bigger than you want it, you can cut the edge off later to the size you want, which will ensure that the edge is even and thick.
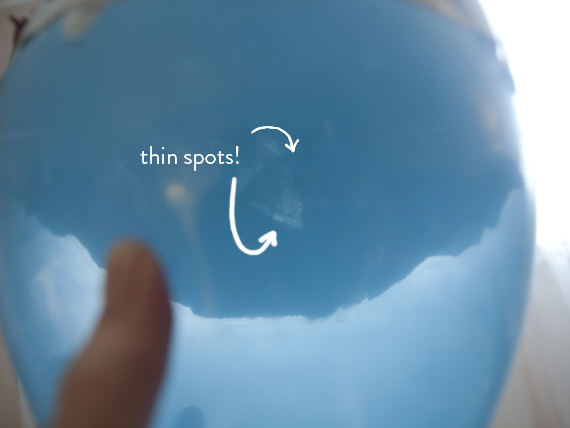
After going for a while, hold your balloon up to a light and check for thin spots where the light shines through. Cover these spots with more paper until you can no longer see light through it. I think my whole balloon was about four layers thick, at least.
When you're satisfied by the paper coverage, hang your balloon to dry by the little nub on top. I just clipped mine to a clothesline. I let it dry overnight so it would be nice and firm when I went to paint it.
So when your balloons are nice and set, grab some painting supplies!
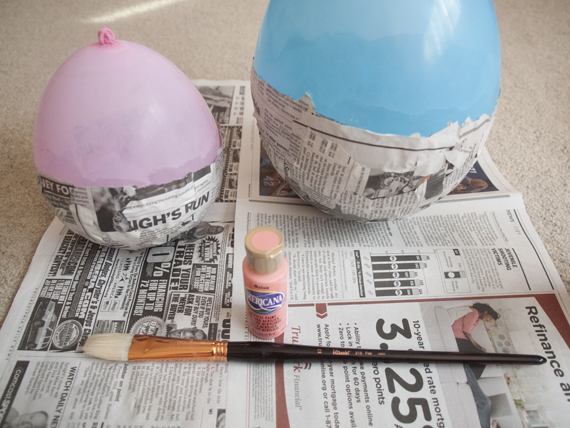
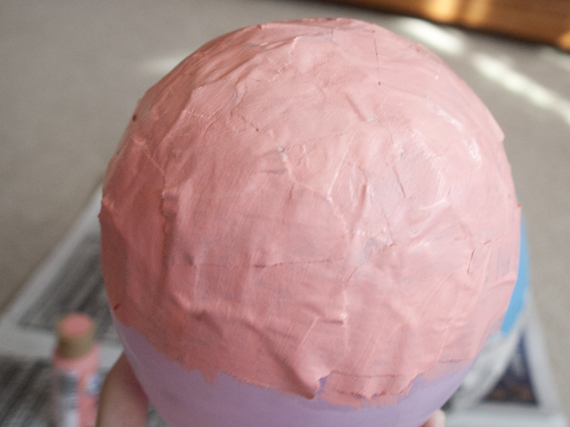
I thought it would be easiest to just hold the balloon while I painted the paper so I left it inflated. It took about three coats before all the newspaper was hidden so I just hung the balloons on the clothesline in between layers. They dried pretty quickly.
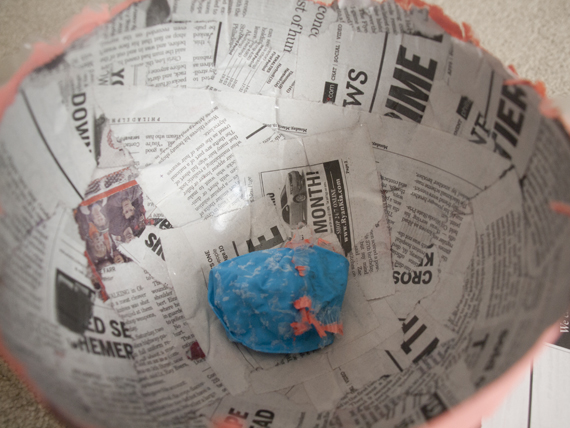
When the paint is dry, pop the balloon! I cut the top off so it wouldn't just burst but deflate quickly. I wasn't sure if the bursting would tear it. Just help the balloon along as it deflates and unsticks to the paper.
Next, I leveled off the tops and just trimmed until the bowl had the depth that I wanted.

After that, paint the inside of the bowl whatever color you want. You can see the first gold layer of my little bowly in the back!
Once the inside is dry, you're done! Easy as that.
Click to see the finished bowls. :)
Hope you're having a great week!

I have wanted to make some bowls like this for ages, plus I could really do with some for putting trinkets in. Thanks for this cute and compact tute. Beautiful blog too.
ReplyDeleteGreat DIY! I'm definitely going to give this a go.
ReplyDeleteWe made some paper mache bowls a few years ago using plastic bowls from the dollar store...I LOVE the classic and fun idea of using a balloon! I think Aaron and I will have to make some for Easter! :)
ReplyDeleteGreat job! Thanks for sharing!
xo Jenny
www.everyday-is-a-holiday.blogspot.com
These are really cute! I'm not crafty...at all {I know, rare for a blogger}, but I think I could do something like this. Thanks for sharing!
ReplyDeleteHope you have a fabulous weekend my dear.
xoxo,
Joelle
so lovely! love that color choice
ReplyDeleteThese are so cool Jess! I haven't made anything with paper mache since probably grade school but these look awesome! I included them in my post of awesomeness this week :)
ReplyDeletesuper cute! I've been wanting to paper mache something, and i think balloons might be just the thing!
ReplyDelete-Nicole
Knit, Nicole, Knit!