Okay maybe a few words first and then it's wordless wednesday. :)
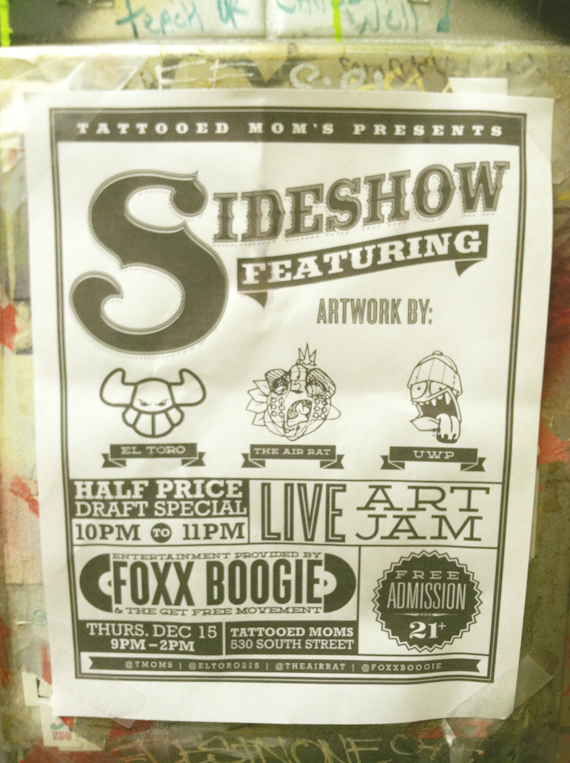
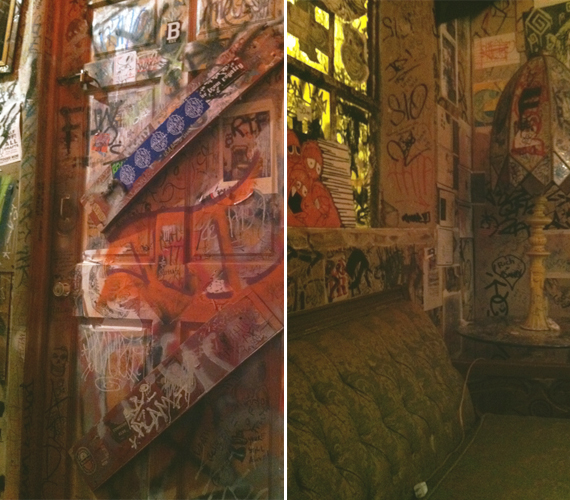
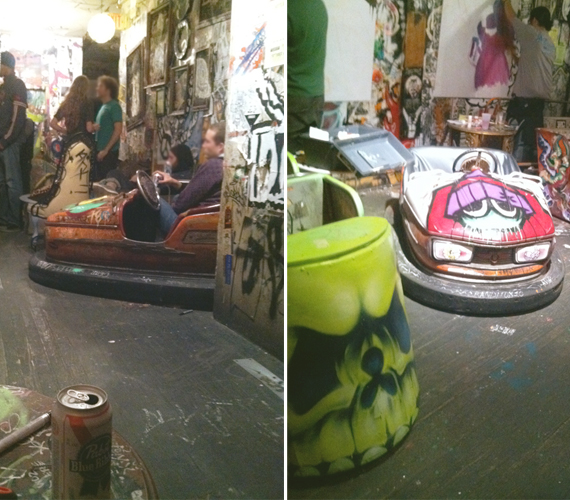
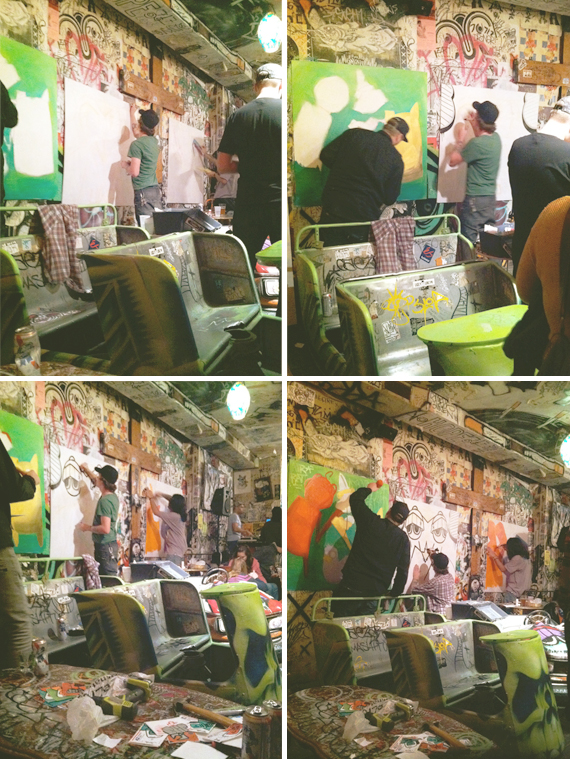
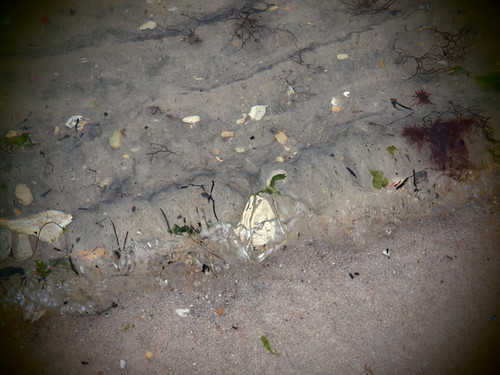
Did you ever take pictures of something and fully intend to use them in a post, only to completely forget and leave them sitting in a folder for months? That's what happened here. I went to this really cool art show back in December. A few friend's of mine and Charlie's that we haven't seen since college days were painting huge canvases at this sort of live art show thing. It was pretty interesting and was held in a bar on South Street with this really crazy 2nd floor that is covered in paint and stickers. Oh, and there were bumper cars for seats. Nuts! Sorry for the low quality phone pics but I still though they were fun. :)
I hope you're having a great Wednesday! I subbed pre-k today so I'll be looking for a drink soon. :)
A couple weeks ago I read about this amazing little Christmas stocking idea over on Kyla Roma's blog. The idea is that you and your special someone hang your Christmas stockings and set a limit for how much you're going to spend filling them. As you buy things, you wrap them up and add them to the stocking and watch it grow! No peeking! ;) I fell in love with this idea because going through my Christmas stocking has always been one of my favorite traditions since I was little. I just love finding all of the tiny little treasures that can be stuffed inside.
I decided I wanted this to be a part of mine and Charlie's developing traditions so I presented the idea to him and he agreed to go for it! We set the limit at 20 just as Kyla did because we always end up overspending on each others Christmas gifts so we didn't want to add an extra 50+ with the stockings. I was a little nervous about the limit at first but now I'm excited about the challenge of finding super cool things for super cheap. They're obviously going to be silly little gifts but those are the best kind!
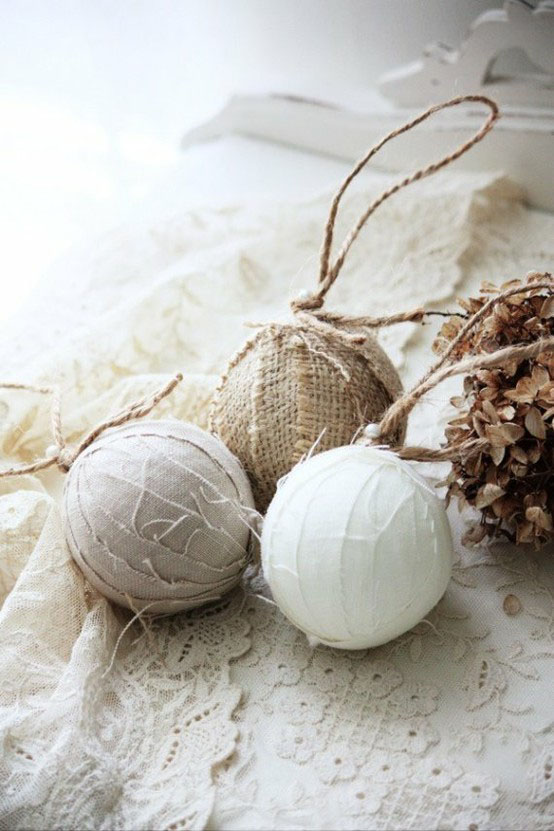
I really want to make our stockings so that they are something special we can use for years to come so here is some inspiration I have been looking at!
I really like the ones that look like Christmas sweaters so maybe I'll go in that direction. I also really like the simple linen and burlap ones with the lace or ruffled tops!
What do your Christmas stockings looks like? Will you be doing a similar challenge? I'll post a photo of my childhood stocking when we dig them out because it's definitely my favorite. :)
I've been collecting holiday craft ideas for a while and today I wanted to share some of my favorites! Some of these are things I'm holding to until I have my own home (such as the gorgeous tree skirt) and others are things I might whip up this year! It was totally unintentional, but after selecting ten items to show you, I realized they all have a sort of a natural or earthy feel, either in color scheme or materials. Crazy how your brain just does that sometimes without you really noticing until after the fact. :)
First, this stunning handmade tree skirt. Such non-typical colors for Christmas but I think that gives it a lot of class and style. Plus I love the ruffles.
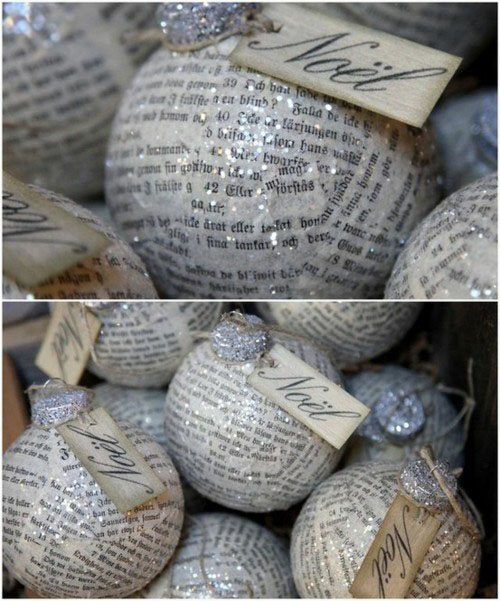
Keeping with the ornament thing, these ornaments would be perfect for a bookworm's Christmas tree. Love. They remind me of ornaments my art class made in high school but we painted Christmas scenes over the paper. I'll have to post them when we dig em out. It was a fun craft!
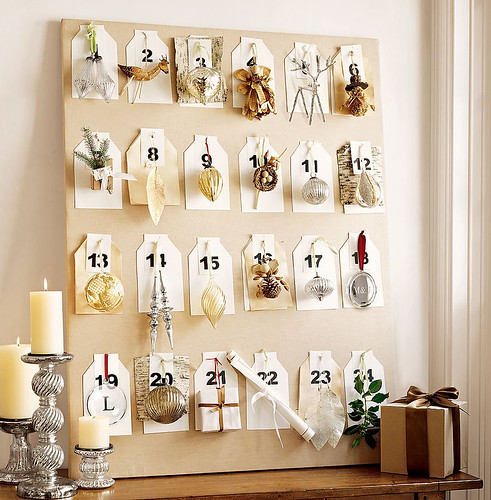
I've always wanted a fun advent calendar and this one is like a little seasonal work of art. It's actually from Pottery Barn but the blog I spotted it on made an excellent point that it could be easily duplicated with a little craftiness!
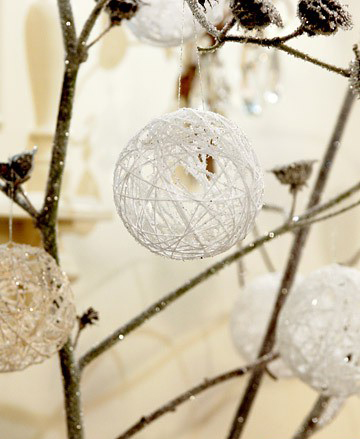
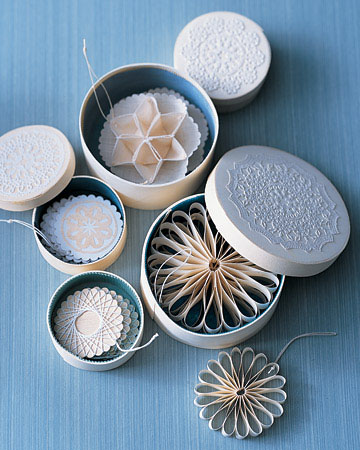
These snowflake inspired ornaments from Martha are amazing. I kind of would want to display them in these boxes just like the photo! The whole set up is stunning.
I mentioned on some form of social media, maybe here, maybe twitter, that I finally got a food processor! I've been feeling sort of held back in expanding my foodie knowledge since a surprising amount of recipes ask you to blend or pulverize things and I had nothing with these capabilities for the longest time.
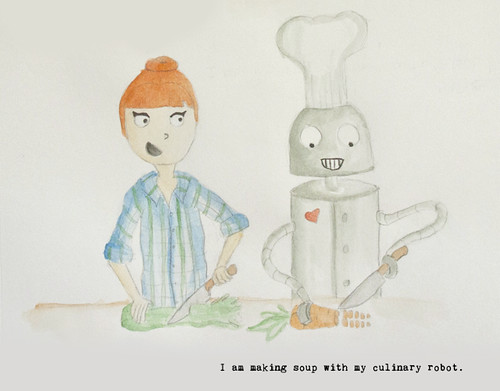
A little research, a good sale, and a coupon later and I had a KitchenAid food processor en route to my kitchen. I couldn't be happier with it. It's easy to use, efficient, and quiet. Oh so quiet. I love that in an appliance. But before I even opened the box I was distracted by the translations on the side. Basically, in French, food processor is literally translated to culinary robot.
That is so much cooler than food processor! From now on, I shall call him my culinary robot. Think about the mental picture and I'm sure you'll agree with me. The picture in my head was so good that I had to share it with you so here are some quick and silly illustrations. Clearly I have too much time on my hands.
Would you rather say..
Or..
Much better.
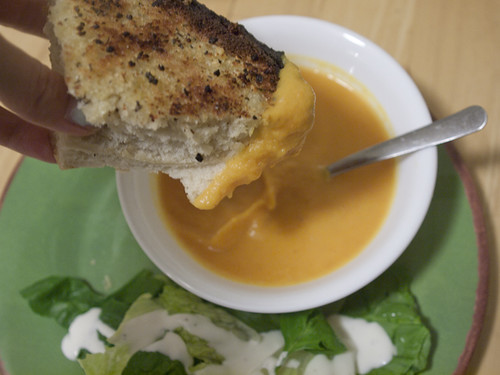
The first thing I made with my culinary robot was butternut squash soup last night. It was delicious. I'll post the recipe for that later.
I can't wait to pulverize some almonds and try my hand at macaroons! I think a lot of good and tasty things are going to come from this investment.
Do you have a favorite kitchen appliance? Or one you'd like to invest in to enhance your foodie experience? :)
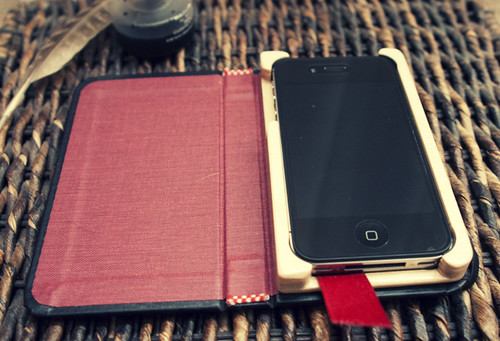
I wanted to do a mini review on my iPhone4 case because I think it's the bees knees. Not because anyone asked me to. Or paid me. Or gave me free things. Because they didn't. I just really dig this case. :)
A little back story.. I got my first iPhone a few days after the iPhone4s came out. I got the iPhone4 because the price dropped significantly and to be perfectly honest, I'm plenty capable of using Google and other apps to figure things out. I don't really need a little robot in my phone that I can ask questions instead for a couple hundred dollars more.
Anyway, I was/am super paranoid about breaking it since phones are getting more and more fragile these days, so I wanted a case that would offer protection but not be constructed of 3 inch thick rubber. I actually started my search with DODOcase because Charlie has a hardback book iPad case from them and I thought it was the coolest thing ever. Problem: DODO doesn't make a case for iPhones.
Thus after a tiny bit of research I found Pad and Quill.
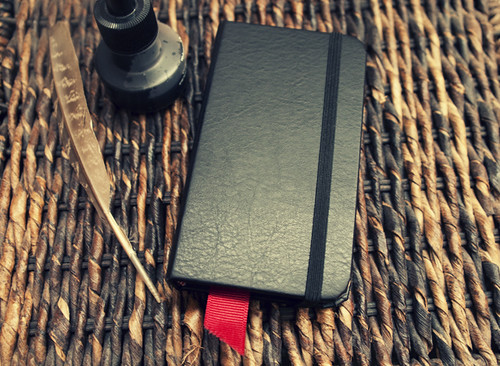
They have an etsy shop where they sell these hardback book cases for iPhones, iPads, Kindles, and more. I was worried at first that the cover and band would get annoying after a while but it's no big deal to just pop it open real quick! It's super sturdy and beautifully crafted by hand. I also feel like my phone is as safe as it could ever be since the screen is covered and protected when it's in my bag or sitting out.
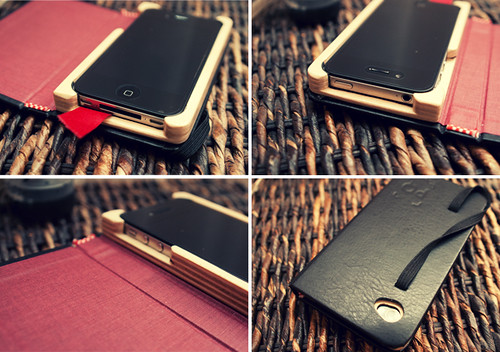
It also has a space carved out for every opening and button on the phone so you never have to take it out of the case to charge it, take a photo, use head phones, or adjust the volume.
I could not be happier with this case and highly recommend it! It's beautiful, sturdy, protective, and definitely a big conversation piece! Oh and you won't look dumb holding a book to your head when you talk on the phone. Just bend the cover back and no one will even see it. Love love love. :)
And that's my two-bits.
But before I go, I leave you with a song for today.
30 Days Hath November Day 7. A Song for the Day
Pennies from Heaven. Because Charlie and I have been listening to a lot of old timey stations on Pandora lately and this song always comes on. It never fails to make me sing and dance! Bonus: it's in the movie Elf so even though it's not a Christmas song it totally reminds me of Christmas. :) Enjoy!
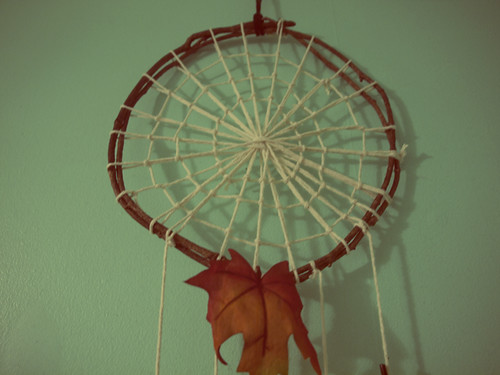
When I was little, my parents always used to buy me different kinds of craft kits for Christmas. One year I got a dream catcher kit. I always tried to make it and worked on it from time to time but I think it was a little above my skill (or patience) level back then. The kit has since vanished but I always thought it would be cool to try an make a dream catcher someday. This little guy is far from the intricate lacing and beadwork of legit native american dream catchers, but it's my own October take on it. :)
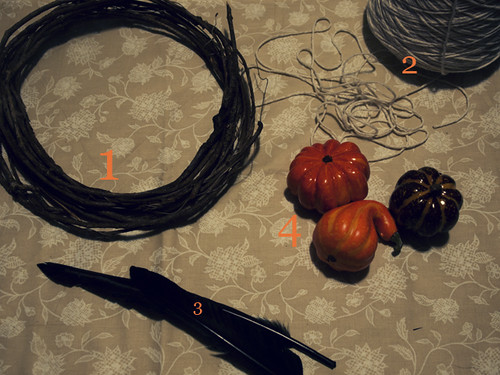
The supplies are pretty simple and can really be modified to fit what you have laying around.
What I used..
1. wooden wreath (any sturdy circular item will do)
2. cotton twine
3. decorative feathers
4. fall harvest decorations
You can hang anything you want from yours but this is what popped into my head when I got the idea.
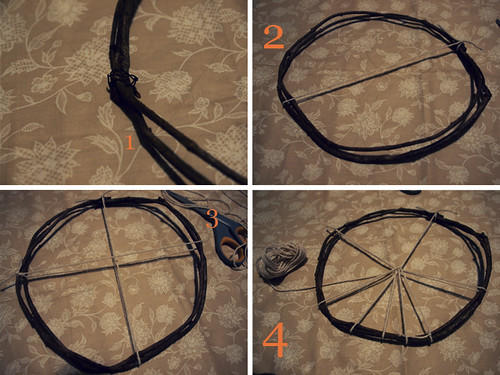
I started by undoing the wire wrapping on the wooden wreath. I then uncoiled two rounds of wood, cut it, and formed it back into a circle. Then I just secured it with a piece of the wire (1). After that, I knotted the twine around the branches, wrapped it around to the other side, and tied it off back where I started (2). Then, same thing perpendicular to it (3). This gives you the basis for your spider web pattern, which you create by just wrapping the twine around the branches and back around the center point, moving as you go (4).
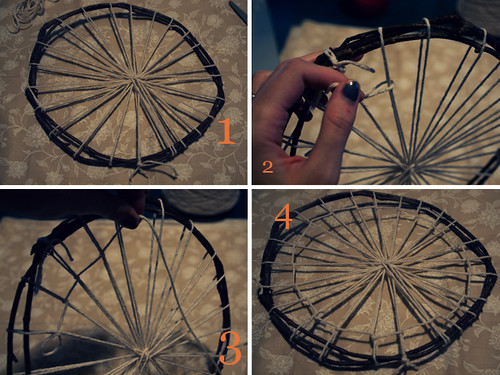
Go all the way around the circle until you have a wagon wheel pattern (1). Next, cut off some twine and tie a knot around one of the "spokes" about an inch or so from the frame. Loop the twine around each spoke as you go around the circle (2-3). Tie it off once you reach the starting knot and trim any excess twine (4).
That will complete the first tier of the web. Make as many as you want depending on the size of your circle. Three was good for me.
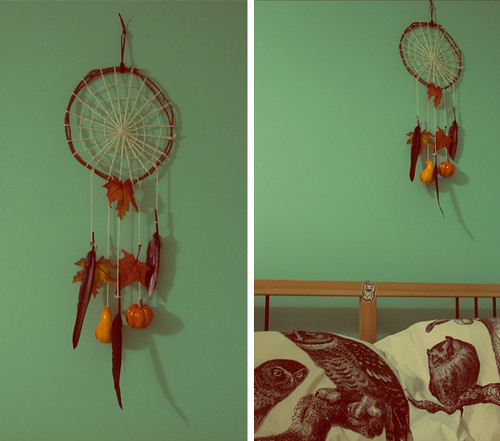
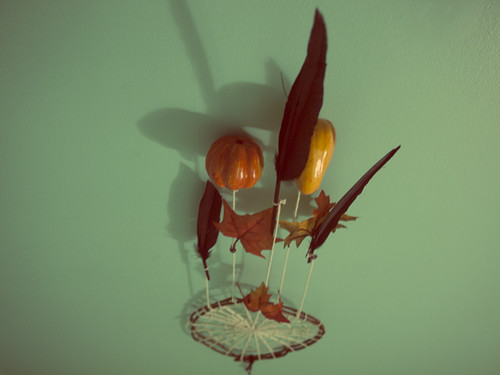
When you're done the web, tether some leaves, gourds, feathers, what have you, to the bottom of the ring. Go at it until it looks the way you want it! Then just loop some string through the top so you can hang it and let all your bad dreams get caught up in this web. ;)
Here is craft project number three! I'm a little behind in getting these up cause a lots been going on. For one I got an iphone! Yay! So I've been playing with that and trying to get acclimated. Anyway, I'll be posting another later tonight or tomorrow morning.
This project turned out more awesome than I thought it would. I was pretty pleased. This one is less of a how-to and more of a serving suggestion. You can really put anything you want in here, this is just how I did it.
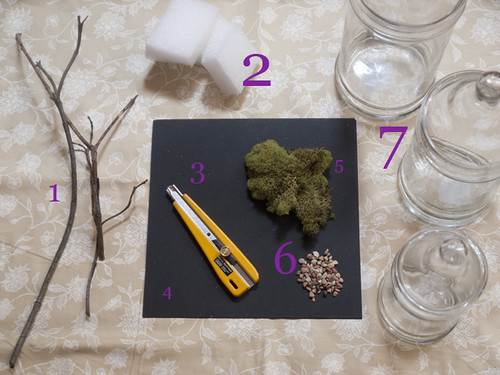
What I used..
1. sticks from my backyard
2. pieces of a foam block
3. x-acto
4. black cardstock
5. faux moss
6. pebbles
7. glass jars
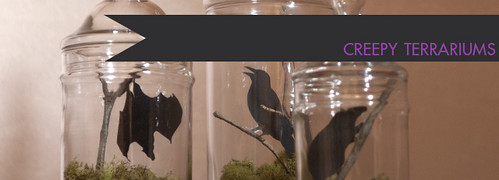
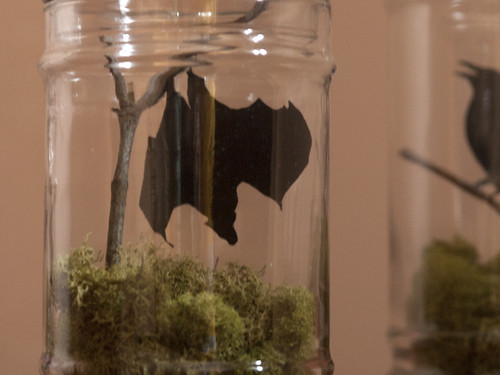
First I printed some silhouettes of creepy dudes from the interwebs. I grabbed a bat, a rat, and a raven. I just traced the creatures onto the cardstock and cut them out. Then I taped their feet onto the sticks, stuck them into the foam for a little stability, and put them in the jars. Then I covered the bottoms with moss. That's it! Use your imagination and add all sorts of plants and things.
The little batty is my favorite, but then bats are my favorite animal. :)
These are my favorite project so far. And they can totally be updated seasonally!


