nav bar


Wednesday, January 5, 2011

apple cheddar scones


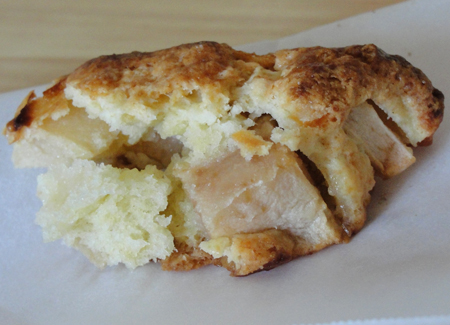
I've always been skeptical about the whole cheese and apple combination that seems to be pretty common. The thought of mixing the two always seemed repulsive and downright wrong to me. I have always been tempted to buy that little pack at Starbucks with the apple slices and cheese in it but could never bring myself to do it. I finally decided to give in and see what all the hype was about so I baked these scones to sooth my curiosity.

De-lish-ous.
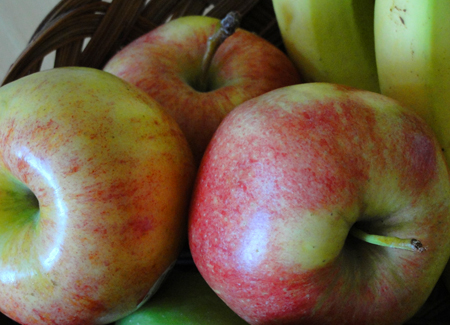


Both blogs I saw these on said it was pure fall and they were so right. I've been missing fall lately since the weather has gotten soo so cold and these scones brought me back. Definitely the perfect warm, sweet yet savory, breakfast for one of those cool mornings.

I had just gotten some fresh gala apples in so I used them since they are really good for baking. Peel them and cut them up into chunks. It says to cut them into 1/16th's and I definitely made them smaller but I'm ok with that ;). Bake them on a parchment lined baking sheet. I also had some really good Irish cheddar leftover from Christmas so I shredded that up for these.


After the apples are cooled and the dough all comes together, pat it out into a 6 in circle.
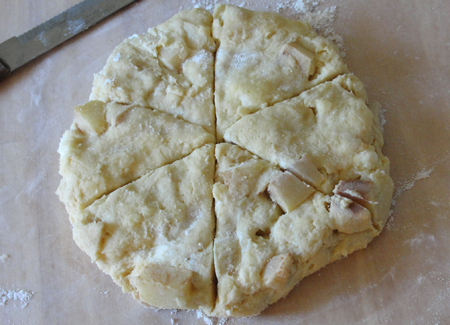

Cut the circle into 6 pieces and bake. I baked up half and froze the other half for later. They should be all golden brown and crusty on top when they're done.
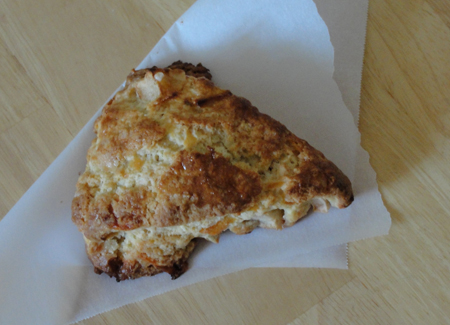

Serve warm. Pretend it's fall again :).


Apple Cheddar Scones
recipe from Smitten Kitchen via What Megan's Making

Makes 6 scones

2 firm tart apples
1 1/2 cups all-purpose flour
1/4 cup sugar plus 1 1/2 tablespoons for sprinkling
1/2 tablespoon baking powder
1/2 teaspoon salt plus additional for egg wash
6 tablespoons unsalted butter, chilled and cut into 1/2-inch cubes
1/2 cup sharp cheddar, shredded
1/4 cup heavy cream
2 large eggs

Preheat oven to 375F.
Peel, core, and chop apples into chunks (approx. 1/16 size pieces). On a baking sheet with parchment paper, place apples in a single layer. Bake for 20 minutes. (Apples should feel dry and have a little color.) Let apples cool completely. Put them in the fridge to speed the process.

In a medium bowl, whisk together flour, sugar, baking powder, and salt. In the bowl of a stand mixer with a paddle attachment, combine butter, cream, cheddar, and one egg, adding the flour mixture on top. Mix until dough is just combined.

On a floured surface, pat out dough into a 6 in round. It should be about 1 1/4 in thick. Cut into 6 triangles. Place the wedges back on the parchment lined pan. Combine egg and salt to make an egg wash, brush over the scones, and then sprinkle with sugar.

Bake for 30 minutes until golden brown and firm.

If you want to freeze some for later, skip the egg wash and wrap them up. When you are ready to make them, brush on the egg wash and sprinkle with sugar. Bake frozen for just a few extra minutes.


I will never doubt apples and cheese again :)

Okay, time to get crafty. I have much to do before opening the store and I want to do that soon!

Tuesday, January 4, 2011

cupcake cheers


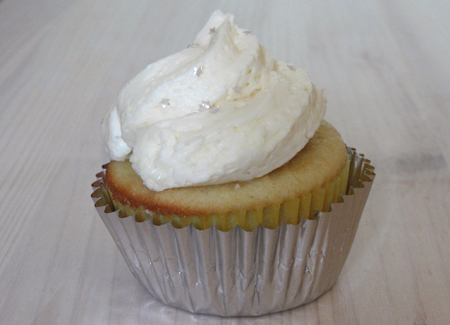
Besides having bottles on bottles of champagne at the mountain house where I spent new year's weekend with friends, we had these babies. I saw these on Sprinkle Bakes about two days before we left for the trip and I knew I had to make them. I created a little hype on Twitter with a tweet that went something like, "champagne filled with champagne and topped with more champagne". And that's exactly what these are.


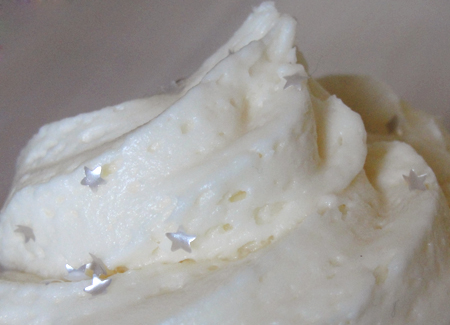
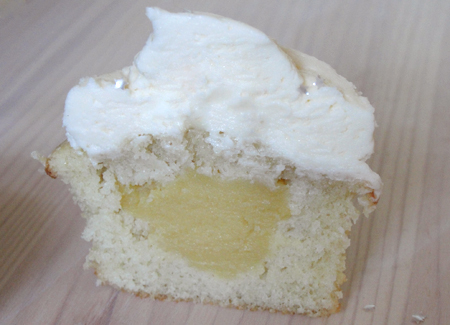
They were definitely a hit. The champagne gives the icing such an interesting flavor. It's almost like a cream cheese icing, with that subtle bitterness. I had some leftover pastry cream filling when I was done but I actually had to double the icing. I may have piped a little too much on them :).


These are the perfect dessert for a special occasion. I ended up using almost a full bottle of champagne!

Champagne Cupcakes
recipe from Sprinkle Bakes

champagne cake
1/2 cup softened butter
1 cup granulated sugar
2 eggs
1 tsp vanilla
1 3/4 cups flour
1/2 tsp baking soda
1/4 tsp baking powder
1/4 tsp salt
1/2 cup sour cream
1/2 cup champagne or prosecco

Preheat oven to 350F. Using a paddle attachment in a standing mixer, cream together butter and sugar until fluffy. Add one egg at a time, combining well after each one. Mix in vanilla. In a separate bowl, whisk together flour, baking soda, baking powder, and salt and set aside. In another bowl, combine sour cream and champagne. Add flour and champagne mixture to the mixing bowl alternately, beginning and ending with the flour. Fill cupcake papers with a 1/4 cup of batter each. (Yields around 17 cupcakes.) Bake for 17-22 minutes and set aside to cool.


champagne pastry cream filling
1/2 cup heavy cream, divided
1/2 cup champagne or prosecco
2 tbsp cornstarch
5 tbsp granulated sugar
1 whole egg
2 egg yolks
2 tbsp unsalted butter
1 tsp vanilla

Pour 1/4 cup heavy cream into a medium bowl and whisk in corn starch. In a saucepan, combine the rest of the cream, sugar, and champagne. Bring it to a boil and remove from heat.
In the bowl with the heavy cream and cornstarch, beat in the whole egg and egg yolks. Pour 1/3 of the boiling mixture into the egg mixture and whisk constantly so that your eggs don't scramble. Return the remaining champagne/cream/sugar mixture to a boil and pour in egg mixture in a small stream. Whisk constantly until mixture thickens, and remove from heat. Beat in butter and vanilla.
Take cooled cupcakes and cut a divot out of the center. Fill with the cream and then cut down the part you removed so that it's a flat lid. Replace lid on top of filled cream.


champagne icing
1 cup plus 1 tbsp champagne or prosecco
2 sticks of butter, softened
2 1/2 cups confectioners' sugar

In a small saucepan, simmer 1 cup of champagne over medium-high heat until it's reduced to 2 tbsp. Pour it into a small bowl and allow to cool.
In a standing mixer with a whisk attachment, cream butter and confectioners' sugar. Once the mixture is thick and fluffy, pour in reduced champagne plus 1 tbsp strait from the bottle. Mix well.
Ice cupcakes and decorate with something festive!

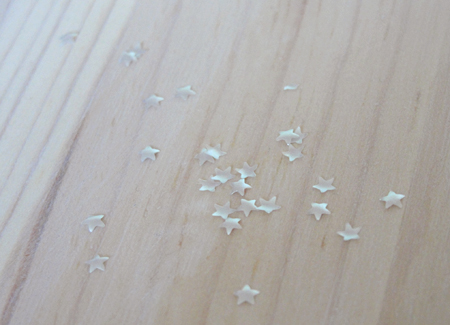
Check the photos over at Sprinkle Bakes too. She took way more and decorated them with pretty pearls. I had these stars left over from a pie I made for Christmas.

I thought I would take so many more pictures over the holidays but it totally slipped my mind! I either felt too busy or too lazy to do it. *Sigh* maybe next year. :)


Monday, January 3, 2011

kicking off 2011


I return. That was a good, much needed break spent with family and friends. I was glad to not be attached to my computer like I usually am. I got so many great new things to cook and craft with too! I'm really excited to try everything out and share it right here.

But for now, I want to kick off my first blog post of 2011 with something I can't wait to get started. I mentioned a while back that I wanted to participate in 101 things in 1001 days. I've seen it on many blogs that I read and it seems like such a great way to set some important short and long term goals. It's a long enough amount of time that you can reach a little high and list things you may not be able to do for a while, but at the same time it's a short enough amount of time that it keeps your goals realistic.

I've created a page for this up at the top where I'll be keeping track of my goals and hopefully crossing off many things. So check it out if you're interested or need some inspiration for your own goals!

Hope everyone's holidays were great and best of luck to you all in the new year! :)

Friday, December 24, 2010

merry christmas


Merry Christmas from Tenpenny Splendid!!

I thought I'd be able to post all week but life got a little too busy. I took a lot of photos though so I'll have things to share when I return. I'm taking a short break to enjoy time with friends and family but plan to be back right after the new year.

I have tons of things I want to do and share with you in 2011 so it should be an exciting year on this lil blog!

I hope you all have the merriest Christmas full of love, fun, and laughter. See you in '11!

:)

Wednesday, December 22, 2010

mexican hot chocolate cookies


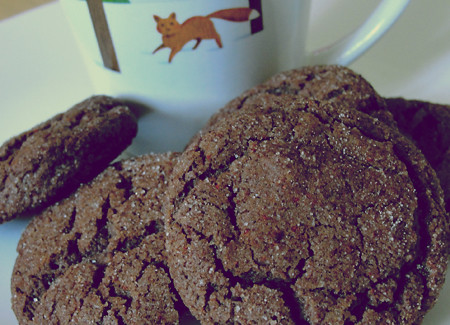
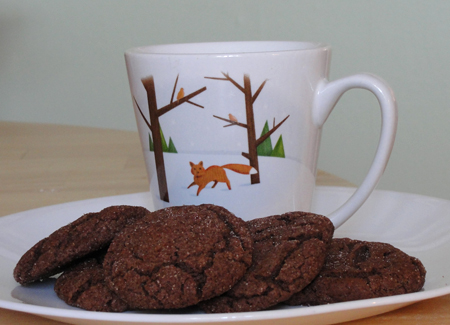
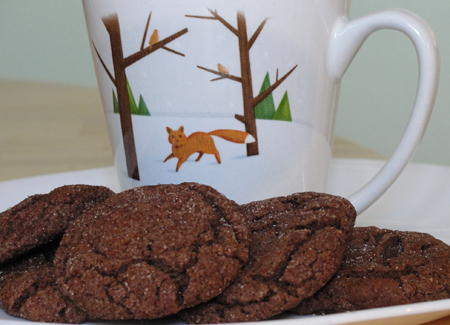
As promised, the second hot chocolate post today.. Mexican Hot Chocolate Cookies! This recipe was a first for me and everyone seemed to love them. They taste like hot chocolate with a bite. Not too much though. I'm not a fan of majorly spicy things and I thought these were great so I totally recommend trying them.

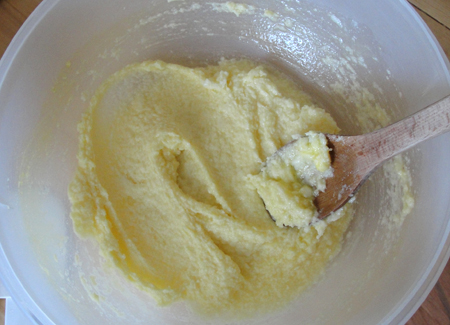
Start by creaming your butter, either by hand or in a standing mixer, and add sugar. Combine until sugar is fully incorporated into the butter.


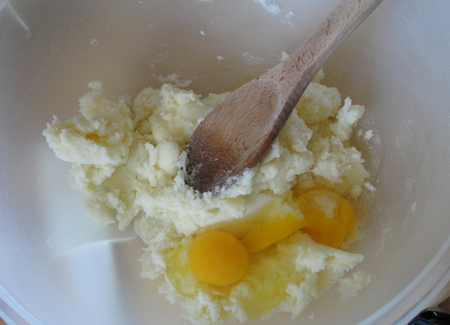
Add eggs and mix well.


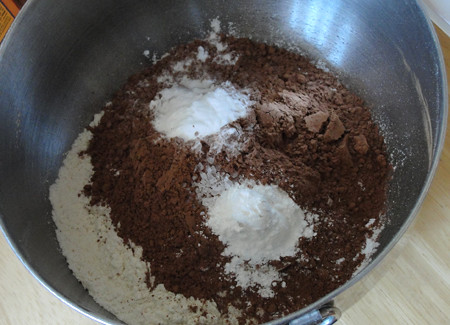
In a separate bowl, combine dry ingredients. Pretend that the face staring out of the bowl doesn't look like the Oogie Boogie from Nightmare Before Christmas.


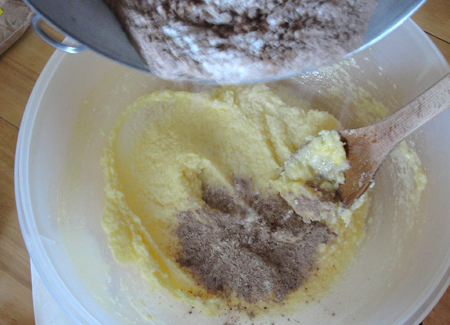
Mix dry ingredients and add to the batter a little at a time.


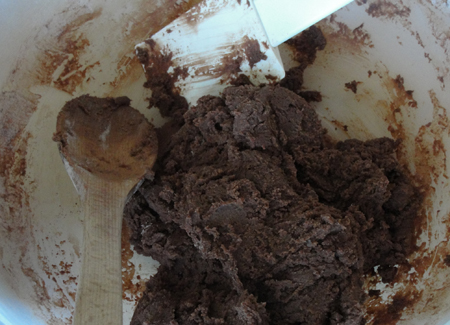
Make sure to mix well and fully stir in all flour and cocoa.


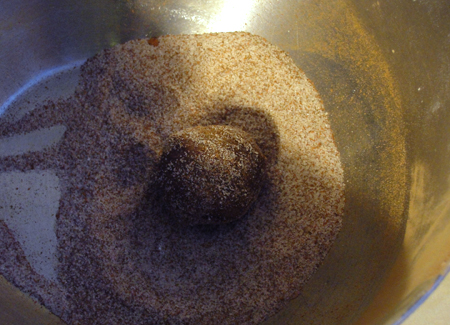
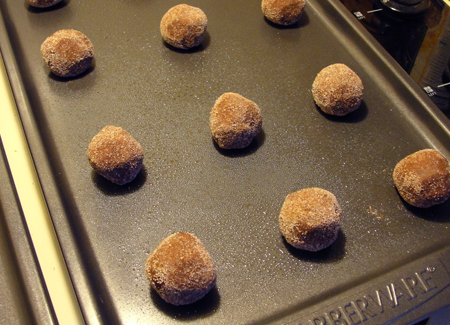
Mix remaining sugar, cinnamon, and ground chile in another bowl. Roll a heaping teaspoon of dough into a ball and coat it in the sugar and spice mix.


Place them three in a row on a greased cookie sheet and bake.


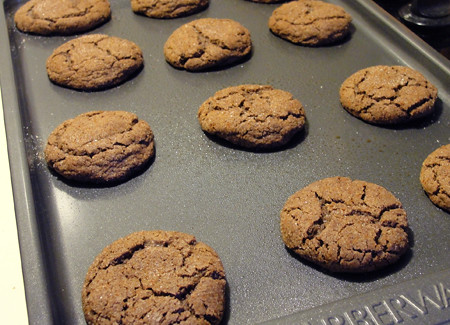
You'll know they're done when they flatten and get all crackly.


Serve up with a cold glass of milk, in case Santa can't handle his spice ;).


Mexican Hot Chocolate Cookies
from Martha Stewart's Holiday Cookies

2 1/4 cups flour
1/2 cup unsweetened cocoa powder
2 tsp cream of tartar
1 tsp baking soda
1/2 tsp coarse salt
1 cup unsalted butter (2 sticks)
1 3/4 cups sugar (separated)
2 large eggs
2 tsp ground cinnamon
1/2 tsp ground chile

Preheat oven to 400F. Cream butter and 1 1/2 cups sugar until well combined and fluffy. Add eggs and mix. In a separate bowl, whisk together flour, cocoa, cream of tartar, baking soda, and salt. Pour into batter a little at a time, mix well. When all ingredients are combined, roll heaping tsp of dough and roll into mixture of remaining 1/4 cup of sugar, cinnamon, and ground chile. Place three in a row on a greased baking sheet. Bake for 10 minutes, until cookies have set and begin to crackle. Should make 3 dozen cookies.


Related Posts Plugin for WordPress, Blogger...